Louise Hill
Portfolio
Ladder Safety and Light Rigging Workshop
In this workshop, we were told the very important safety rules to follow when working in this environment. A demonstration was given to show us how to correctly set up a ladder and things we should take. into consideration. For example firstly when working with ladders, you should ensure you are correctly dressed. For example, no lose accessories such as jewellery or lanyards, footwear is also important, you must wear suitable shoes such as hard non slip shoes.
We were shown many steps to safely put up a ladder this consisted in working in pairs and communicating. For example when you are working with ladders you must be loud and clear to communicate with your partner when you are going up and down a ladder. Non communication can end in a very serious out come or injury.
Once we were shown how to set up the ladder, we watched another demonstration on how to rig a light, We each had a go in pairs to set up the ladder and climb up to the top to detach and re attach a light from the bar. This included many steps such as unplugging the light, removing the safety chain, turning the shutters in and many more. Again, as we were working from heights we were helping each other by communicating clearly. When coming down the ladder, you must tell your partner you are "coming down" and when passing the light to say "yours" in which they respond "mine.


Describe your image

Describe your image
Sewing Workshop
Here, I was taught the basics of sewing and how to use a sewing machine. Before this, I had no experience with a sewing machine. We watched a demonstration on how to set up and thread the sewing machine. there were many small and complicated steps involved in the process, some of which were I took photos of to help me remember. On scraps of fabric, We had a go at using the different types of stitch which were; straight stitch, zig zag stitch and hem stitch. I also practised going backwards and forwards, I
soon got familiar with how the sewing machine worked.
Makeup Bruising Workshop In this workshop I learnt how to create fake but realistic looking bruises using sex makeup. We were reminded of the different shapes and stages of bruising, for example a fresh bruise or slightly older bruise was shown through the different colour grease paints. For example I created an older looking bruise by patting yellow on first, creating a base layer for my bruise, I followed this with green and a tiny bit of purple. Whereas if I wanted to create a newer bruise I would add more reds and blues on the top. The most effective way to apply the paint I found was to use my fingertips, this gave a nice blend and an non neat shape to the bruise, giving it a realistic look.


Describe your image

Describe your image

Describe your image
Describe your image
Makeup wounds Workshop
Here we were given an option as to which makeup technique we would like to practice, I chose to work with latex. This was a really good reminder of how it differs to using other products. I created a gruesome wound, I did this by layering latex coated tissue so it stuck to my skin. once this dried I cut through the tissue to create a gash, I then painted it with flesh colours to match my skin. I experimented by adding fake blood and pins, the end result was really effective.
Mask making Workshop
In this Workshop we were shown step by step how to create our own face masks from scratch. We each chose a piece of fabric and given a template and filter in which we then cut and sewed the correct pieces to each other. I then attached the elastic and sewed the whole mask together, leaving a small gap to flip it inside out. By now the mask was looking almost done, to finish it completely I did one last stitch along the outside, securing everything in place.

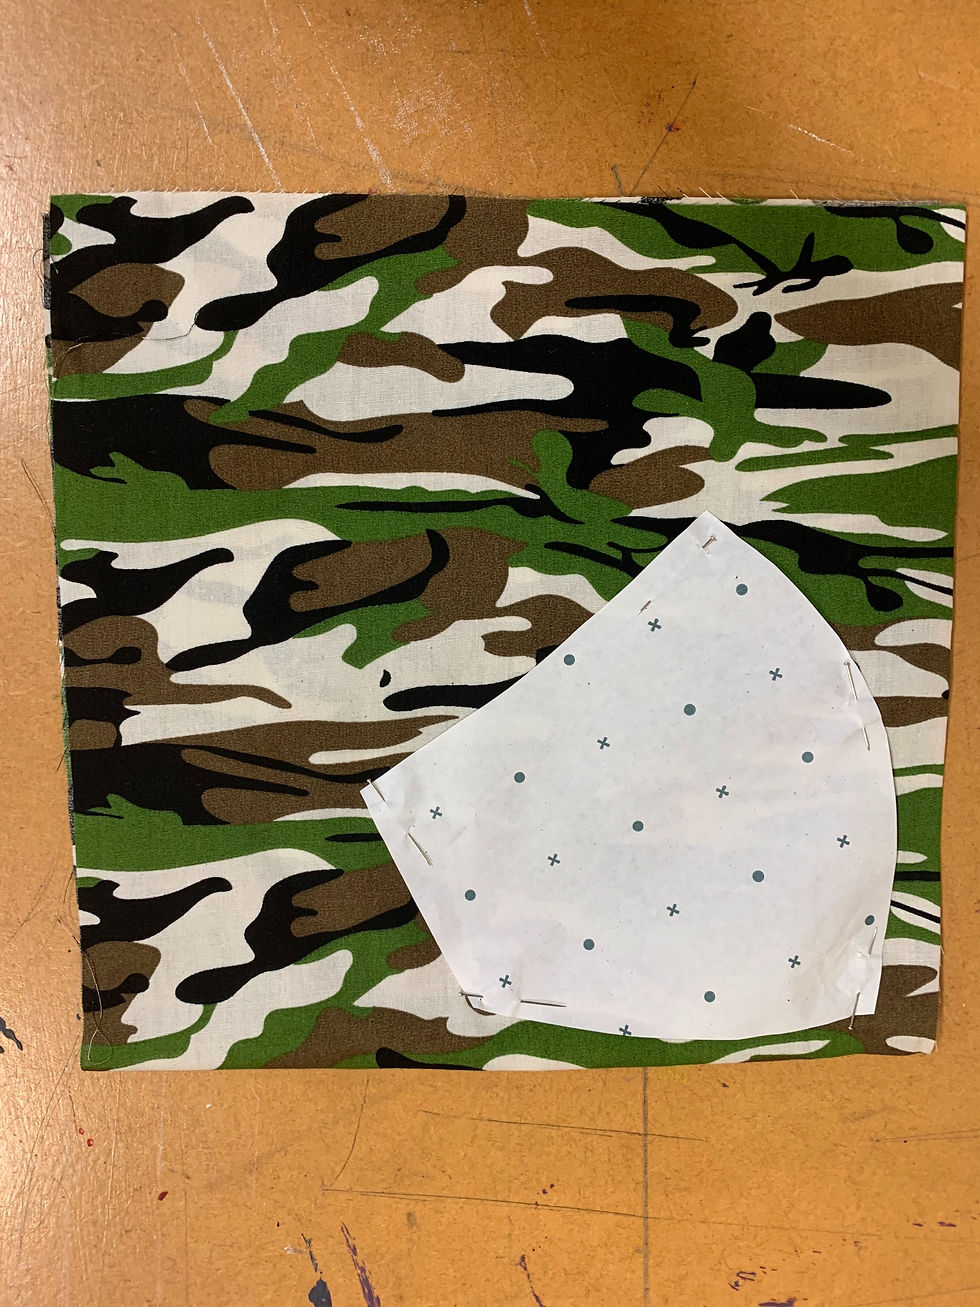


Describe your image

Describe your image
Describe your image
Lighting Workshop
Here we were shown how to programme the lights where were introduced to the lighting desk. There were many technical buttons which I learnt controlled different parts of the lighting in the theatre. During this I learnt about channel numbers, address numbers and different fixtures and labels.
It was all a lot to remember but with help I had a go on the desk and got familiar with the basics.
We were also introduced to groups, which was was the next step up from programming individual lights, this was a similar process and wasn't too difficult.


Severed finger moulding Workshop
In this workshop, I learnt how to create a severed finger. This was through the use of Alginate, which was mixed in the ratio of 200ml of water to create a paste. This was very quick setting so I set everything up before hand. I rapidly mixed the water and alginate powder together, this was shown as a very pinky paste. I mixed until the mixture was as smooth as possible I then poured the into the smaller cup where I moulded my finger. My finger was in the paste for about 5 minutes, I knew it was ready to take out because the liquid had now turned solid and grey. I then was given another mixture to fill my finger mould, this took about half an hour to set, I then pulled my fake finger from the mould and started painting it with fleshy colours to look realistic. I even added fake blood and a nail, this was very effective.

Describe your image

Describe your image

Describe your image
Describe your image
Tattoo removal Workshop
In this workshop I learnt hot to cover a tattoo using paints and setting powder. To cover the intense black of the tattoo I was taught to go over it in a pinky shade called D32, I then powdered over this to make the paint stick. I learnt how to match the paints to my skin tone and learnt how everyone
either has a yellow or pink skin tone.
Makeup Workshop
Here, i used Artex, which I learnt is a sculpting like gel. It comes in two containers, A and B which you mis equal amounts together. It is important the two are not mixed, for example if screw the opposite lids to the wrong pot, the whole product would be ruined and gone to waste. When applying the artex, it is sticky when moulding however when it dries the texture comes out very skin like and effective. Artex is really good to work with because it is quick drying but you have enough time to mould whatever you want to the skin. I experimented and went for an Alien-like attack scar. I went over my mould in yellow, and added greens and reds to the creases to create an alien like look.
With the time I had left over, I got to experiment so I practised working with latex, I went for a werewolf scratch and a gruesome slit finger.


Describe your image

Describe your image
Team Workshops
Sound effects Workshop
In this workshop, I was given a year two and a year one to work with. We were given a list of sound effects we had to create using things we could find around our designated area. We used the art room, and the theatre and we searched for many objects and tested out each sound different objects made. I had the job of recording each sound. We communicated really well and experimented with many sounds. When we had collected the sounds we needed, we downloaded them onto Dan's computer ready to edit them for their final effect.

Props table Workshop
In this workshop we were put into small groups of three where we had the task of organising and setting up a props table. A props table was new to me so I learnt how to set one up using tape and separating each act. We were given a sheet of a list of many props we needed to collect from the props cupboard. This was my first time getting things from within the cupboard and costume cuboard, I learnt where most things were kept.
Once my team and I collected all the props we separated them into their. correct act, from there we taped off each prop separate from each other, making sure to label each one with a clear black marker.
Costume Team Workshop
In this workshop, I was grouped with a year two and two year ones. We had to put together costumes of a bride, a rock fan and a soul singer, We did this by finding different items of clothing and accessories and putting them together for a final outcome.
We had to present each costume on the mannequin and photograph them.
We then had to hang each costume on the clothing rail and label them with their name, this is so other people can see what is what when they're hanging up.
 Rock & Roll fan |  A Bride |
|---|---|
 A Soul Singer |
As a technique, we gave each other a designated costume to work on, I had the bride. This made us work more quickly and effectively as we finished first and the feedback we got was really good.

Team Workshop Review
For the Team workshops, two year ones was put into a team with one year two. The first team workshop I participated in was a sound effects workshop, I was with class mates Hannah who is a year one and Dan who is a year two. As a team we worked really well by communicating and suggesting ideas as to how we could complete the sound affect. Although it was my first time working with these class mates we spoke with each other and shared ideas, this made it much quicker to get the task done.
For the second team workshop, my team and I were given a props list to collect and create a props table. I was put into a team with Bryce who is a year one and Alexander, a year two. Again, I thought the communication between us three was really good, Alexander was really helpful as he showed us where we would find each prop. We were the first team to finish, I think this was due to the fact that we spoke to each other clearly and wasn’t afraid to ask each other questions.
The final team workshop was a costume workshop, we were given a list of costume we had to collect from the costume room. My group consisted of a year two: Dan who I've worked with before and two year ones, Bryce and Lara. Dan was effective at helping us by telling us what we needed to do and where we would find things. Our team used a technique where we each gave each other a role, this helped us work a lot faster which resolved in us completing the task first. From successfully carrying out this workshop, we were given feedback. Our group was given really good feedback and told we did the best. We also were told how we could've done better which was how a specific item of clothing didn't fit well with the costume. Overall our communication with each other was really good resulting in us completing the task.